

Instagram Audio Editor: How to Edit Reel Audio
Instagram audio editor guide: edit Reel sound in the app, trim and mix music, clean up voice-overs, and use free tools like Audacity for better audio.
InstaMP3Box Team9 min read
On this page▼
- Key takeaways
- What is an Instagram audio editor?
- Edit audio inside Instagram
- Add music or a saved sound
- Balance your voice and the music
- Record a voice-over
- Line the audio up with your clips
- Add sound effects
- What the in-app editor cannot do
- Free external tools worth using
- A simple audio editing workflow
- Editing basics that make the biggest difference
- Record better audio in the first place
- Reusing audio from your own Reels
- Copyright and editing other people’s audio
- Common audio problems and fixes
- The short version
An Instagram audio editor can be the editor built into the Reels camera, which lets you trim music, balance volume and add a voice-over, or a separate audio app such as Audacity that you use before you upload. The built-in tools are enough for most Reels. A dedicated editor is better when you need to remove background noise, even out volume or prepare a clean voice track.
This guide explains what you can edit inside Instagram, what you cannot, which free tools to use for the rest, and a simple workflow that produces clear sound every time. It also covers export settings, common problems such as quiet voices and music that drowns out speech, and the copyright limits that apply when you edit other people’s audio. Menu names in Instagram change over time, so the exact wording on your screen may differ slightly.
Key takeaways
- Use the in-app editor for quick jobs: trimming music, mixing volume between your voice and the track, and recording a voice-over.
- Use a separate editor for quality: noise removal, loudness matching and fades are easier on a proper audio timeline.
- Good audio starts at recording. A quiet room and a microphone close to your mouth beat any amount of fixing afterwards.
- Edit a copy. Keep the untouched original so you can always start again.
- Only edit audio you have the right to use. Editing a sound does not change who owns it.
What is an Instagram audio editor?
There is no single product called the Instagram audio editor. The phrase covers two different kinds of tool, and choosing the right one saves a lot of time.
- The in-app editor. When you create a Reel, Instagram lets you add music, record a voice-over, adjust volumes and position audio against your clips. It is fast and keeps everything inside the app.
- External audio editors. Desktop and phone apps that give you a full timeline, effects and precise control. You export a finished file and bring it into your Reel.
Think of the in-app editor as a mixing desk with a few big knobs, and an external editor as a workshop (our guide to safe, free Instagram audio editor downloads compares the options). For a ten-second clip with background music, the desk is plenty. For an interview, a podcast clip or a voice that needs cleaning up, use the workshop.
Edit audio inside Instagram
These are the common things you can do in the Reels editor. Names and positions change with app updates, so look for the music-note or audio icon on the editing screen.
Add music or a saved sound
Tap the audio option, search the library or open your saved audio, and pick a sound. You can usually choose which part of the track plays, which matters because the chorus rarely sits at the start. If you are trying to work out which song a Reel is using, see our guide to the Instagram Reels audio finder.
Balance your voice and the music
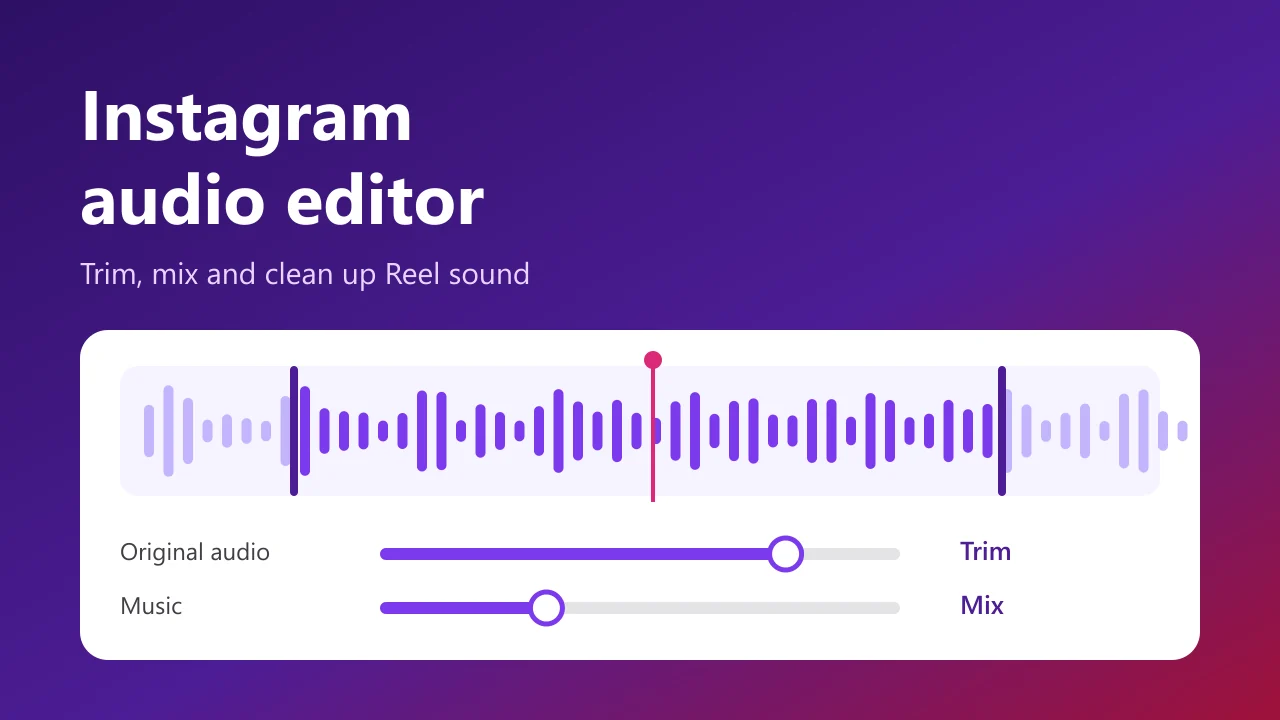
The most useful control is the volume mixer. It has separate sliders for the original audio, meaning what your camera recorded, and for the music you added. For talking videos, a good starting point is to keep your voice high and set the music well below it, then listen on headphones and on the phone speaker. If you can hear every word without effort, the balance is right.
Record a voice-over
Voice-over lets you narrate while you watch the Reel play back. Record in a quiet room, hold the phone steady and speak a little slower than you would in conversation. If you make a mistake, record the sentence again instead of trying to fix it later.
Line the audio up with your clips
Alignment tools let you move the audio so that beats, transitions or key lines land on the right frame. Small shifts make a Reel feel tighter: a cut on the beat usually looks better than one slightly before or after it.
Add sound effects
Short effects can emphasise a transition or a joke. Use them sparingly, and keep their volume under your voice.
What the in-app editor cannot do
The built-in tools are deliberately simple. You will usually need an outside editor when you want to:
- remove hiss, hum or room noise from a recording
- cut a long recording down to the best 30 seconds with precise edits
- fade audio in and out exactly where you want
- match the loudness of several clips
- layer several tracks, for example voice, ambience and music
- work with a sound that is not in Instagram’s library
Instagram also does not let you upload a bare audio file as a Reel. Any audio you edit outside the app has to be attached to a video first, using the Reels editor or a video editor, before it can be posted.
Free external tools worth using
You do not need to pay for professional software to get clean audio. These options cover most needs.
- Audacity. A free, open-source audio editor for Windows, macOS and Linux. It handles trimming, noise reduction, fades, normalisation and export to MP3 and other formats. It is the best all-round free choice for desktop.
- GarageBand. Free on Apple devices and good for recording and layering voice and music on a Mac, iPad or iPhone.
- Phone voice recorders and simple editors. Built-in apps are fine for quick trimming and are the fastest way to fix a recording on the go.
- Web-based audio editors. Convenient for small jobs without installing anything; check what they do with your files before uploading anything private.
- Video editors. If you are already editing the video, most let you adjust audio on the same timeline, which keeps sound and picture in sync.
A simple audio editing workflow
Whatever tool you use, the same order of steps works. It avoids rework, because each step builds on the one before.
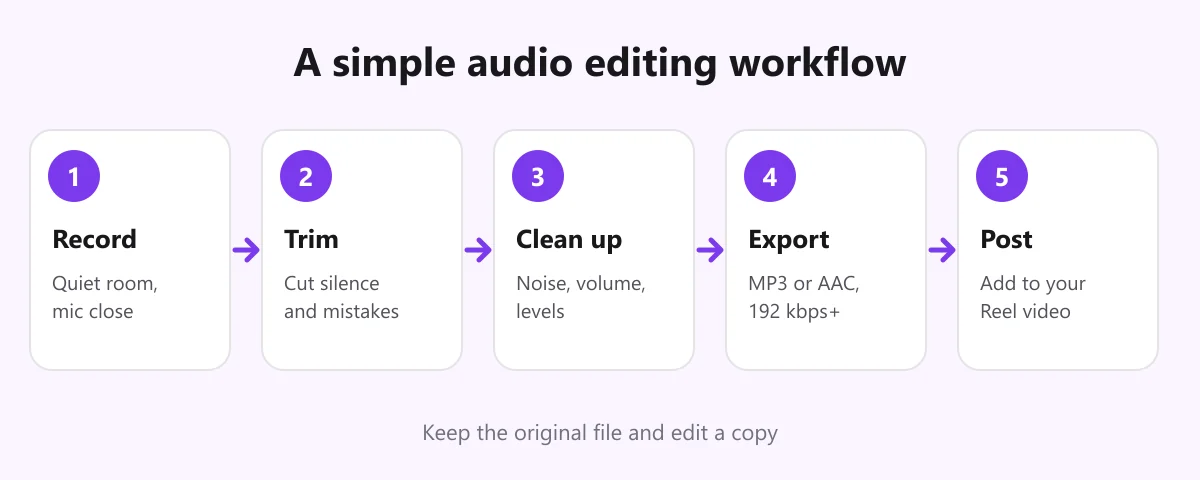
- Record or collect your audio. Use a quiet room, switch off fans and notifications, and keep the microphone close. If you need to reuse sound from your own earlier Reel, you can save it as a file; see the section below.
- Trim. Remove silence at the start and end, coughs and false starts. Cutting is the most effective edit you can make.
- Clean up. Reduce steady background noise, then adjust the volume. Aim for speech that is clear and consistent, without peaks that hit the maximum level.
- Export. Save a high-quality file, such as MP3 at 192 or 320 kbps or AAC. Keep your original project in case you need changes.
- Post. Bring the audio into your video, check the sync and listen once more on a phone speaker and headphones before publishing.
Editing basics that make the biggest difference
- Noise reduction. Capture a second or two of room tone, use it as a noise profile, then apply reduction lightly. Heavy settings make voices sound watery.
- Normalisation and loudness. Normalising brings the loudest peak to a set level. For more consistent volume across clips, measure loudness in LUFS, a standard described in this overview of loudness units. Instagram does not publish an official loudness target, so match your clips to each other and avoid distortion rather than chasing a single number.
- Compression. A gentle compressor evens out loud and quiet words, which helps speech sit clearly over music.
- Equalisation. Cutting very low rumble from a voice recording, and avoiding harsh high frequencies, often improves clarity with little effort.
- Fades. A short fade at the start and end removes clicks and gives a polished feel.
Record better audio in the first place
No editor can fully rescue a poor recording, so a few habits pay off more than any plug-in.
- Record in a small, soft room: a bedroom with curtains and a bed sounds far better than a bare kitchen.
- Keep the microphone about a hand’s width from your mouth, slightly off to the side to reduce popping.
- Use a wired headset or a small lavalier microphone if you film at a distance from the camera.
- Do a quick test recording and listen back before you shoot the whole thing.
- Avoid wind, fans, air conditioning and echoing spaces.
Reusing audio from your own Reels
Sometimes the audio you want to edit already lives in a Reel you posted, because the original file is gone. In that case you can save it as an MP3, edit it in an audio editor and use the improved version in a new Reel. Copy the link of your public Reel, paste it into the InstaMP3Box Instagram audio downloader, choose a bitrate and download. Our guide to the Instagram audio downloader explains how the conversion works, and the Reels to MP3 converter page covers Reel links in detail.
Quality note: Instagram compresses audio on upload, so a file saved from a Reel is already one generation down from your original. Edit it as little as possible, and export once. If you still have your original recording, always use that instead.
Copyright and editing other people’s audio
Trimming, speeding up or remixing a sound does not make it yours. If you edit music or voices that belong to someone else, you still need permission or a licence to use the result. Instagram’s own music library is licensed for use inside the app; those licences do not apply to files you download and edit elsewhere. For audio that is legal to reuse, start with public-domain and Creative Commons sources, which we cover in our guide to a safe and legal audio download as a free MP3. Our terms of service explain permitted use of the converter. This is general information, not legal advice.
Common audio problems and fixes
- My voice is too quiet. Raise the original audio slider, lower the music, and normalise the voice track before export. If the recording is faint, record again closer to the microphone.
- The music drowns out my speech. Set the music well below your voice and use a gentle fade in the quiet moments. Choose instrumental tracks for talking videos.
- The audio is out of sync. Check whether the file has a variable frame rate or you trimmed one track and not the other. Re-align on the timeline and re-export.
- There is a hum or hiss. Apply noise reduction using a profile from silent room tone, and re-record if the noise is loud.
- The sound is distorted. The level was too high when recording or exporting. Lower the gain so peaks stay below the maximum.
- The sound changes after posting. Instagram re-encodes uploads. Export a high-quality file, avoid maximum volume and check the result on a phone after publishing.
The short version
Use Instagram’s built-in editor for quick Reels and a free desktop editor when you want clean, consistent sound. Record in a quiet room, trim first, clean up second, export once, and keep the original. For audio you made yourself, a converter can recover a file from a public Reel so you can improve it; for anything else, edit only what you are allowed to use. When you need that file, paste the link into the InstaMP3Box converter.
InstaMP3Box Team
The InstaMP3Box team writes guides on saving audio from Instagram — from quick how-tos to deeper explainers on bitrate and file formats.
How we write and update our guidesFollow on X (Twitter) ↗Frequently asked
Does Instagram have a built-in audio editor?
Yes. The Reels editor lets you add music, record a voice-over, balance the volume of your original audio and the music, choose which part of a track plays and add sound effects. It does not offer advanced tools like noise removal.
What is the best free audio editor for Instagram?
Audacity is a strong free, open-source choice on desktop for trimming, noise reduction, fades and export. GarageBand is a good free option on Apple devices.
How do I make my voice louder than the music in a Reel?
Use the volume mixer to raise the original audio and lower the music, then listen on headphones and a phone speaker. Choose instrumental music for talking videos.
Can I upload an audio file to Instagram?
Not as a standalone Reel. Audio has to be attached to a video, using the Reels editor or a video editor, before you post it.
What format should I export audio in for Instagram?
MP3 at 192 or 320 kbps, or AAC, works well. Instagram recompresses uploads, so keep your levels below the maximum and keep the original file.
Can I edit audio from another creator's Reel?
Editing does not give you rights to the sound. You need the owner's permission or a licence to reuse it. Instagram's music library licences apply inside the app only.